|
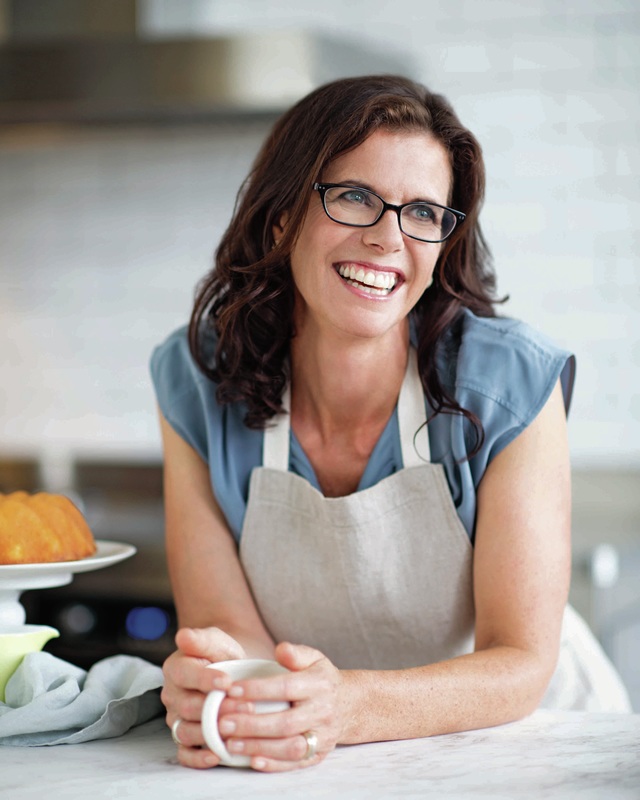
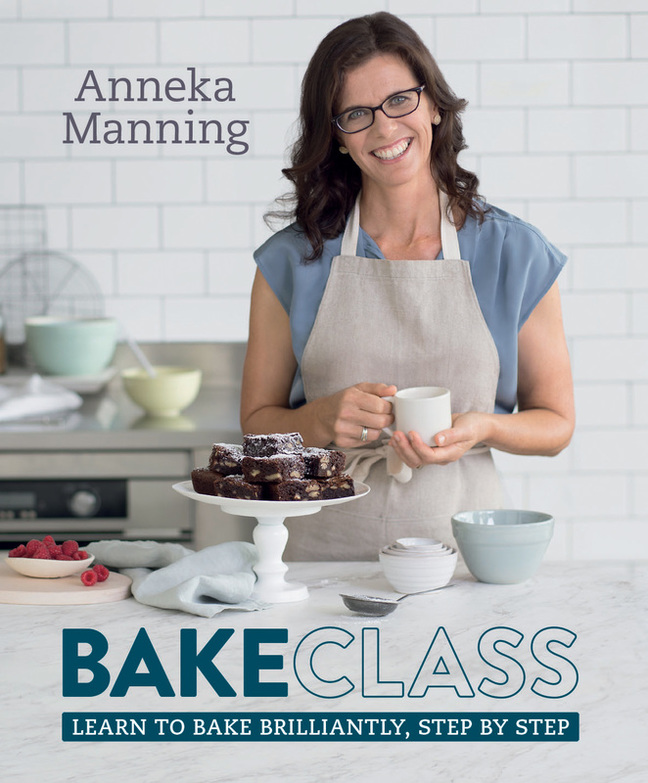
Earlier this week, I was disappointed to have logged into Facebook to find that I had just missed my friend Anneka Manning's BakeClub Kitchen live session. Her current Make Me a Baker group was in the middle of a 'Rise to the Occasion' hands-on class, and I would have loved to see the goodies that they were baking. I managed to catch the tail end of the session, and it sounded like great fun. One thing I can confirm is that the class members were in the hands of an expert who is passionate about her craft. Through BakeClub, her Sydney-based baking school, Anneka teaches home cooks the tricks of the trade through her practical one-off classes and six month 'Make me a Baker' program. In her 25 years as an author, food editor, consultant, teacher and publisher, Anneka has worked for a number of leading food publications, including Australian Gourmet Traveller, Australian Good Taste, the Australian Women's Weekly, and The Sydney Morning Herald. She has a significant radio and TV profile and has also written and contributed to numerous bestselling books, including Mastering the Art of Baking (Murdoch Books), and Bake Eat Love. Her latest offering, BakeClass, published by Murdoch Books, is a beautiful reference tome that takes the reader by the hand and leads them through a personalised baking master class. Suitable for beginners, baking enthusiasts and capable bakers alike, BakeClass explains the science behind baking in all of its remarkable and rewarding forms. Recently, I had the opportunity to chat with Anneka about the book and her baking philosophy. Our conversation follows: A conversation with Anneka Manning...Hi Anneka, it's great to catch up with you again. A huge congratulations on BakeClass! It’s a gorgeous book and such a credit to you and your work. Thank you, Liz. I’m incredibly proud of this book. My aim right from the start was to create a cookbook that was practical, user friendly, inspiring, approachable and would stand the test of time. I like the credo ‘Baking is love made edible’… is this your philosophy? Yes, absolutely. I truly believe that baking is an expression of love – especially when shared. It nurtures, it brings people together, it warms the soul and it replaces words when they are hard to find. It says thank you, I’m thinking of you, I think you are special. Baking provides a link that brings people together, makes them feel connected, creates a bond and brings joy. Tell me, what tools and utensils (equipment) do you consider to be essential for the home baker? My top three tools and utensils that every home baker should have in their kitchen would be:
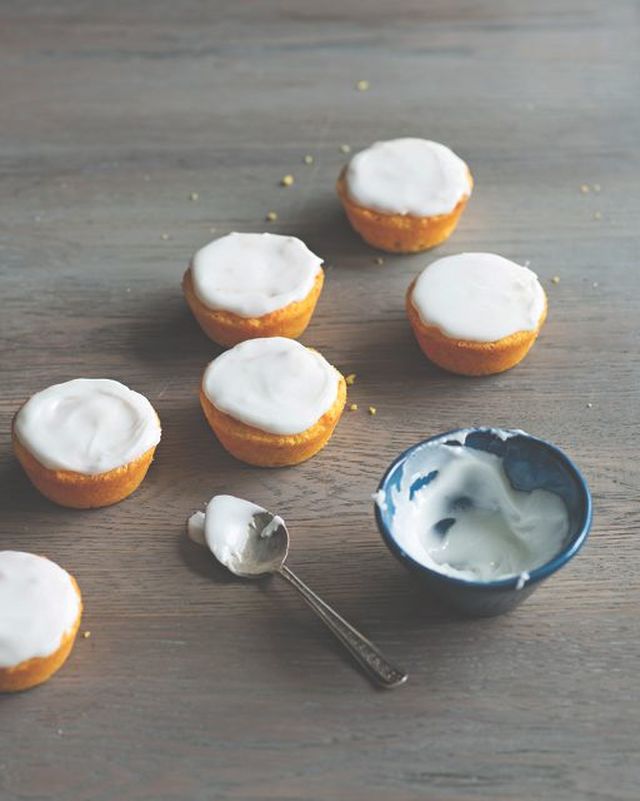
What are the basic ingredients that should always be in the refrigerator or larder? Good-quality butter, eggs and vanilla extract or essence are a must in the baker’s kitchen, Liz. When it comes to baking, butter is a, if not the, key ingredient. It adds richness and flavour, and is used to add tenderness (such as the ‘tender’ crumb of a butter cake) and shortness (such as in a shortcrust pastry), as well as colour. Warm temperatures, light and water will all cause butter to deteriorate quickly and become rancid (indicated by a darker yellow layer around the outside when you cut through a block). To help prevent this, always buy butter that has a foil-like wrapping (light can easily penetrate thin, paper-like wrapping and the oxidation process that causes the butter to go rancid may well have started before you even took it home!). I recommend to keep butter in its original wrapping in the main part of the fridge; the butter compartment is not cold enough to keep blocks of butter in it for any length of time. Any leftover butter should be rewrapped and placed in an airtight container or sealed plastic bag and used soon after to avoid it absorbing other flavours from the fridge. Butter will keep for up to eight weeks in the fridge if stored correctly but I always recommend only buying it as you need it. Also remember to check the used by date for optimum freshness. Unopened butter can be frozen in a sealed freezer bag for up to six months and thaw it in the fridge before using. Next are eggs. From providing structure, texture and richness through to binding, giving flavour and providing a golden glaze for breads and pastries, eggs are important in most baked recipes. Eggs stale very quickly at room temperature (up to 7 times more quickly than in the fridge) so it is best to store them in the fridge and in the carton they came in. Eggs bought from the supermarket will have a use-by date on the carton but if an egg has come from elsewhere or you want to double check its freshness you can place it in a bowl of water and if it lies on its side it is quite fresh; if it stands on its end with the rounded side up it will be two to three weeks old. Be cautious if an egg floats completely as it may be a couple of months old and not suitable to use in your baking. The ultimate test is to break a suspect egg into a cup – believe me, you will know by the smell if it’s too old to use. And on vanilla. The quality and intensity of flavour does vary between brands of vanilla and the word ‘natural’ is the key here when buying. Be wary of ‘imitation’ essences or extracts, which are simply a chemical combination that also contains artificial vanillin – that is, not real vanilla. Take a quick look at the ingredient list on the label and it will soon tell you if it is the real thing – vanilla beans, alcohol, sugar and water are all normal ingredients in a natural vanilla extract or essence. The imitation ones don’t have the quality or intensity of flavour that the natural ones do. It is best kept sealed in its bottle in a cool, dark place and check the use-by date. What about the oven? Is there anything particular that home cooks need to be mindful of? Just like children, no oven is exactly the same, they sometimes misbehave and it is important to get to know yours so you can feel confident when you are using it. If you feel yours is misbehaving and isn’t working the way it should, the first step is to find out if it is preheating correctly. To do this, buy a good-quality oven thermometer from a kitchenware store. Place it in your oven, preheat your oven to a particular temperature using the oven dial – say 180°C – and take note of the temperature on the thermometer against that indicated on your dial. This will show you whether the oven temperature dial is accurate or not, and if it’s not, you now know how you need to adjust the setting for recipes as required. For example, if your oven runs 10°C hotter than indicated on the dial, you should preheat your oven to 10°C lower every time you use it. You can also use your thermometer to check for hot spots in your oven, which sometimes cause baked products to rise and brown unevenly. Yep, this could well be the reason why your cakes are always lopsided and your biscuits are never evenly coloured! Each time you preheat your oven (to the same temperature), move the thermometer to a different place and see if the temperature varies. This way you can see if your oven has hot spots and you can either get it fixed or make sure you turn your tins or trays around at least once during the baking time to help cook and brown evenly. In terms of baking tips and hints, is there one thing that you think is particularly important? I suppose the one thing I always stress to my students in my classes and workshops is that it so important to choose a recipe that is appropriate to their baking ability. Ask yourself what kind of baker are you? Choosing a recipe that is well matched to your skill level will mean you won’t become overwhelmed, frustrated and disheartened – especially important if you are just starting on your baking journey. I would also like to offer a practical tip for your Good Things readers, Liz. Recipes often ask for ‘softened’ or ‘room temperature’ butter. This is so the butter is soft enough that it can be easily and evenly combined with other ingredients and/or beaten to incorporate air. ‘Softened’ butter should be soft enough that it can be spread on bread without tearing it! You will need to take your butter from the fridge at least an hour or so before you need to use it to reach this consistency; Leaving it out overnight, depending on the weather, is also a good idea. However, if you are like many of us and have forgotten to take it from the fridge, coarsely grating it straight from the fridge will help it soften more quickly and evenly and you will be able to use it immediately. Is there one thing that you absolutely love to bake? Ummmm, that’s a tough one. I find making pastry very satisfying, bread therapeutic and cakes fun. Really depends what mood I’m in to what sort of thing I will choose to bake…and who I’m baking it for of course! And finally, is there a recipe from BakeClass that you would like to share with Good Things readers? The Gluten Free Mandarin, Polenta & Coconut Cakes from 229 are one of my all-time favourites. Gluten-free and based on mandarins, they tend to be my go-to recipe during the cooler months. Anneka's recipe for gluten-free mandarin, polenta & coconut cakes...Anneka says, 'These cakes are a play on the original (and wonderful) Middle Eastern Orange Cake from the one and only Elizabeth David. Making use of seasonal mandarins and with the addition of coconut and polenta, this version is also flourless and gluten-free.' The recipe and image are from BakeClass and appear courtesy of Murdoch Books. GLUTEN-FREE MANDARIN, POLENTA & COCONUT CAKES 2 large mandarins (about 110 g/3¾ oz each) Melted butter, to grease 100 g (31/2 oz/1 cup) almond meal 95 g (31/4 oz/1/2 cup) instant polenta 45 g (11/2 oz/1/2 cup) desiccated coconut 1/2 teaspoon baking powder 3 eggs, at room temperature 165 g (53/4 oz/3/4 cup) caster (superfine) sugar 11/2 teaspoons natural vanilla extract or essence Mandarin icing 250 g (9 oz/2 cups) pure icing (confectioners’) sugar 11/2–2 tablespoons mandarin juice Put the whole mandarins in a small saucepan, cover with water and set over high heat. Bring to the boil, reduce the heat and simmer for 30–60 minutes, or until very soft when tested with a skewer. (You may need to place a small saucer over the mandarins to keep them submerged.) Remove the mandarins from the water and set aside to cool slightly. Meanwhile, preheat the oven to 180°C (350°F) or 160°C (315°F) fan-forced. Brush a 12-hole 80 ml (21/2 fl oz/1/3 cup) capacity silicone or metal muffin tin with melted butter to grease. Quarter the mandarins and remove and discard the centre core and any seeds. Purée the skin and flesh in a small food processor or blender until smooth. Put the almond meal, polenta, coconut and baking powder in a medium bowl and mix well to combine. Put the eggs, sugar and vanilla in a medium bowl and use an electric mixer with a whisk attachment to whisk on high speed until very thick and pale and a ribbon trail forms when the whisk is lifted (about 3–4 minutes). Add the mandarin purée to the egg mixture and use a spatula or large metal spoon to fold in until just combined. Add the polenta mixture and fold together until combined. Divide the mixture evenly among the muffin holes (you can pour it from a jug or use a ladle). Bake in the preheated oven for 15–18 minutes, or until a skewer inserted in the cakes comes out clean. Cool the cakes in the tin for 5 minutes. Use a palette knife to ease the cakes out and transfer to a wire rack to cool. To make the Mandarin icing, sift the icing sugar into a medium bowl. Gradually stir in the juice until the mixture is smooth and has a thick coating consistency, adding a little more juice if too thick. Cover with plastic wrap and set aside at room temperature until ready to use. Spread the tops of the cooled cakes with the icing. Set aside for 20 minutes or until set. Baker’s tip: These cakes will keep in an airtight container in a cool place (but not in the fridge) for up to 2 days. Preparation time: 20 minutes (+ 30–60 minutes simmering, cooling time and 20 minutes standing) Baking time: 15–18 minutes. BakeClass by Anneka Manning, $45.00, Murdoch Books. Thank you kindly to Anneka and the Publicity Team at Murdoch Books for facilitating this conversation, interview and review. Anneka, thank you for your time! Browse through the pages of the book here. To find out more about BakeClub and join the fun, visit the website. Tell me dear readers, do you like Anneka's 'baking is love made edible' mantra? And have you been following her work?
11 Comments
21/9/2016 12:04:27 pm
What a nice interview! And thanks for the into -- Anneka is new to me. Totally agree on the importance of a good scale (preferably electronic) -- we use ours ALL the time. Every day, multiple times a day. Fun read -- thanks.
Reply
Lizzy
21/9/2016 10:57:45 pm
John, thank you so much! I use my electronic scales all the time too.
Reply
21/9/2016 07:35:50 pm
Nice interview Lizzy. Looks like a good class to learn basics of baking :)
Reply
Lizzy
21/9/2016 10:57:08 pm
Absolutely, thanks Lorraine : )
Reply
21/9/2016 07:50:40 pm
what a delicious looking magazine, and I I'm always keen to learn about ingredients and pantry stuff!
Reply
Lizzy
21/9/2016 10:56:38 pm
Thank you, E... it's a cookbook, love. xx
Reply
24/9/2016 01:30:07 am
I've never heard of her but I totally agree with the mantra. Great tips here, especially on the butter.
Reply
Lizzy
25/9/2016 06:58:38 pm
Thanks so much!
Reply
Thelma Robertson
25/9/2016 06:59:21 pm
I enjoyed reading this interview with Anneka, Lizzy. I sometimes see her posts from Bake Club on facebook. She is so knowledgeable.
Reply
Simone Mason
25/9/2016 06:59:47 pm
I have added this book to my Xmas wish list, thanks Lizzie.
Reply
Bob Bennett
25/9/2016 07:00:18 pm
One for the missus. They say Santa will be visiting soon.
Reply
Your comment will be posted after it is approved.
Leave a Reply. |
Welcome...Üdvözölöm
Cooking and writing have been a lifelong passion. Join me as I share with you my favourite recipes; postcards and morsels from my travels; conversations with cookery writers and chefs; and news on food, cookbooks and cooking. - Liz Posmyk
All
NB: I use Australian standard measuring cups and spoons in my recipes.
|
